Thursday 29 November 2012

Gifts under a fiver at The Craft Barn

Good morning folks
This week over at The Craft Barn Blog we are looking at gifts again, this week it's for less than £5.00.
I've made a couple of cute fridge magnets which I think make cute gifts, either for a teacher or even Grandparents too. I've used Tando chipboard shapes. These can also be painted by children making them extra special.
 What I like about these cute images is that the details have been lazered out making it easy to colour in the lines! Each packet has one owl and 1 bird so I've used 2 packets here. Once painted I covered everything with a layer of clear UTEE to add shine and protect the surfaces before adding a magnet to the back.
 If you make them as a gift, this makes a good way to present them. Take and decorate a couple of tags and stamp a branch onto each tag. Work out where the magnet will go so the bird sits on the branch and attach a large metal brad to the tag. This will then keep the magnet in place. Like this.....

If you attach the tag to a card blank you have a card and gift in one too.
Hope you like it.


Tando creative Cute owl and bird
Large metal brads
Distress inks and stains
Branch stamp from urban tapestry - Tim Holtz (I've separated the bird from the branch)


Our special offer this week: 
Each order of £ 25 or more will get a pack of free Tando Minis
added to their order.

Wednesday 28 November 2012

WOYWW 182

Good Golly Miss Molly, it's Wednesday again?
You're kidding, right? Julia, the host of this weekly gathering must have pressed the speed dial.......... But, as it is share your desk day as decreed, we must obey so here is mine (marginally neater than last week)
 First off, the overview. Yes, that is daylight as I left the door open and took the pictures Tuesday afternoon before going to work as I knew I would not be going back there till today. The printers tray at the back is taking shape, but more on that tomorrow (Perhaps....) Hhhhhhmmmmmmm, just noticed how precariously pile up things are on the right, must sort out! So what's going on on my desk?
 There's the tree I made yesterday out of the snowflake rosette die.
 Love these blue green stains and walnut is one of my go to colours.
 The tins from yesterday's post are still hanging around on the desk, along with a new Vintaj embossing folder, which is great to use
Not sure what I'm going to do with this but I'm loving working with them. I've made somethinmg I REALLY like with Vintaj, I just can't share it yet!
So that's my desk this week, last week I managed to visit virtually everyone, don't think I'll manage to repeat it this week but I'll try to see as many as I can.
Hope you all have a blessed and creative week.


Tuesday 27 November 2012

Blog anniversary festival Altoid tin - Ink Stains

Good Morning everyone.
This post is all about celebrating the 5 year anniversary of Ink Stains with Roni; a very talented crafter who I've been following for a pretty long time now.
A while ago Roni invited me to take part in her celebration by altering a tin that she would send me. Of course I was honoured and pleased to be invited and so here is my altered Altoid tin for the festival.

 I covered the sides of the tin and the insides too with tissue tape as it's the easiest to work with. I used Distress inks and masks to create my backgrounds and stamped in archival ink.  I used some of the charms Roni sent to embellish the outside and also added some micro beads too.
 The base is nice and simple, then you open up to see.....
 An inspiration quote and umbrella man staring out to the  future.... it's hard to see in the photo but I sprinkled clear embossing powder onto the card and heated. This gave me the lovely almost random starry night effect once I inked it up which I love.
 The flowers are made from Tim's tattered garland die and Dylusions inks.

You also get a bonus too as Roni, remembering that my wife is creative too, sent down an extra tin; "just in case" Susan had some time and was interested. Well guess what, it's here so you get to see an extra, hope you like it!


Thank you Roni  for sharing your inspiration so freely and here's to the next 5 years! Hopefully, if things work out, there should be a Mr Linky list at the bottom here.  If not, HERE is the link to Roni's post! I hope you enjoy the rest of the festival and have a great day.

Neil

Monday 26 November 2012

Oh Christmas Tree

Hi there folks.
Hope you are well. Today I thought I'd share a Christmas tree with you that I made this morning. This one
 A while ago; I'd made a bunch of snowflakes using Tim's snowflake dies for another project and as they were done I thought they kind of looked like a tree so this morning I gave it a go and have to say I am pleased with the end result! The base is a small spool coloured with Walnut Stain.
 I cut 3 large, 3 medium and 5 small flakes and coloured them with Evergreen Bough and Fired Brick distress stains and stamped randomly with snowflakes in archival coffee ink. Everything was then spritzed with Perfect Pearl mist and dried before folding and assembling with hot glue.
 To layer up I used hot glue again and used the 3 large, offsetting the points each time and then the same with the three medium and 3 small. The last two small ones were attacked with scissors to trim down to a smaller size and attached too. A clear bauble finished the top off nicely.
 I them squeezed Stickles randomly in places to add a bit more sparkle!

The colours are much nicer in reality, today's gloom makes if difficult to photograph properly.
Hope you like it.

Sunday 25 November 2012

Today's class.....

Hi folks.
Hope that you are having a good weekend and that the weather in the UK is not affecting you badly. We're all ok here, the wind was howling nicely at 5:30 this morning when I trotted down to the studio to finish packing for today's class. I know, I really should have done it before and I usually do but this was just one of those weeks!
Today was spent in the company of brilliant ladies who kept me entertained all day while we created this box in the morning and filled it with three journals in the afternoon.


Lately I keep forgetting to take photos at my classes but after being told off I did manage to remember to take today!


And please note Mickie, I didn't use the F word this time........ (No, not that one; what are you like?!)
We actually got everything finished on time to which is always a good thing, not too much of a mad scramble!
So, that's what I've been up to today.......you?

Friday 23 November 2012

Ink Refresher and Perfect Pearls

Good afternoon everyone.
In my WOYWW post I mentioned that I was doing something with Perfect Pearls and ink refresher so today I thought I'd show you what I was doing; well, actually more I thought I'd show you what YOU can do!
Lots of pictures to follow.......
Ready? To begin with you will need
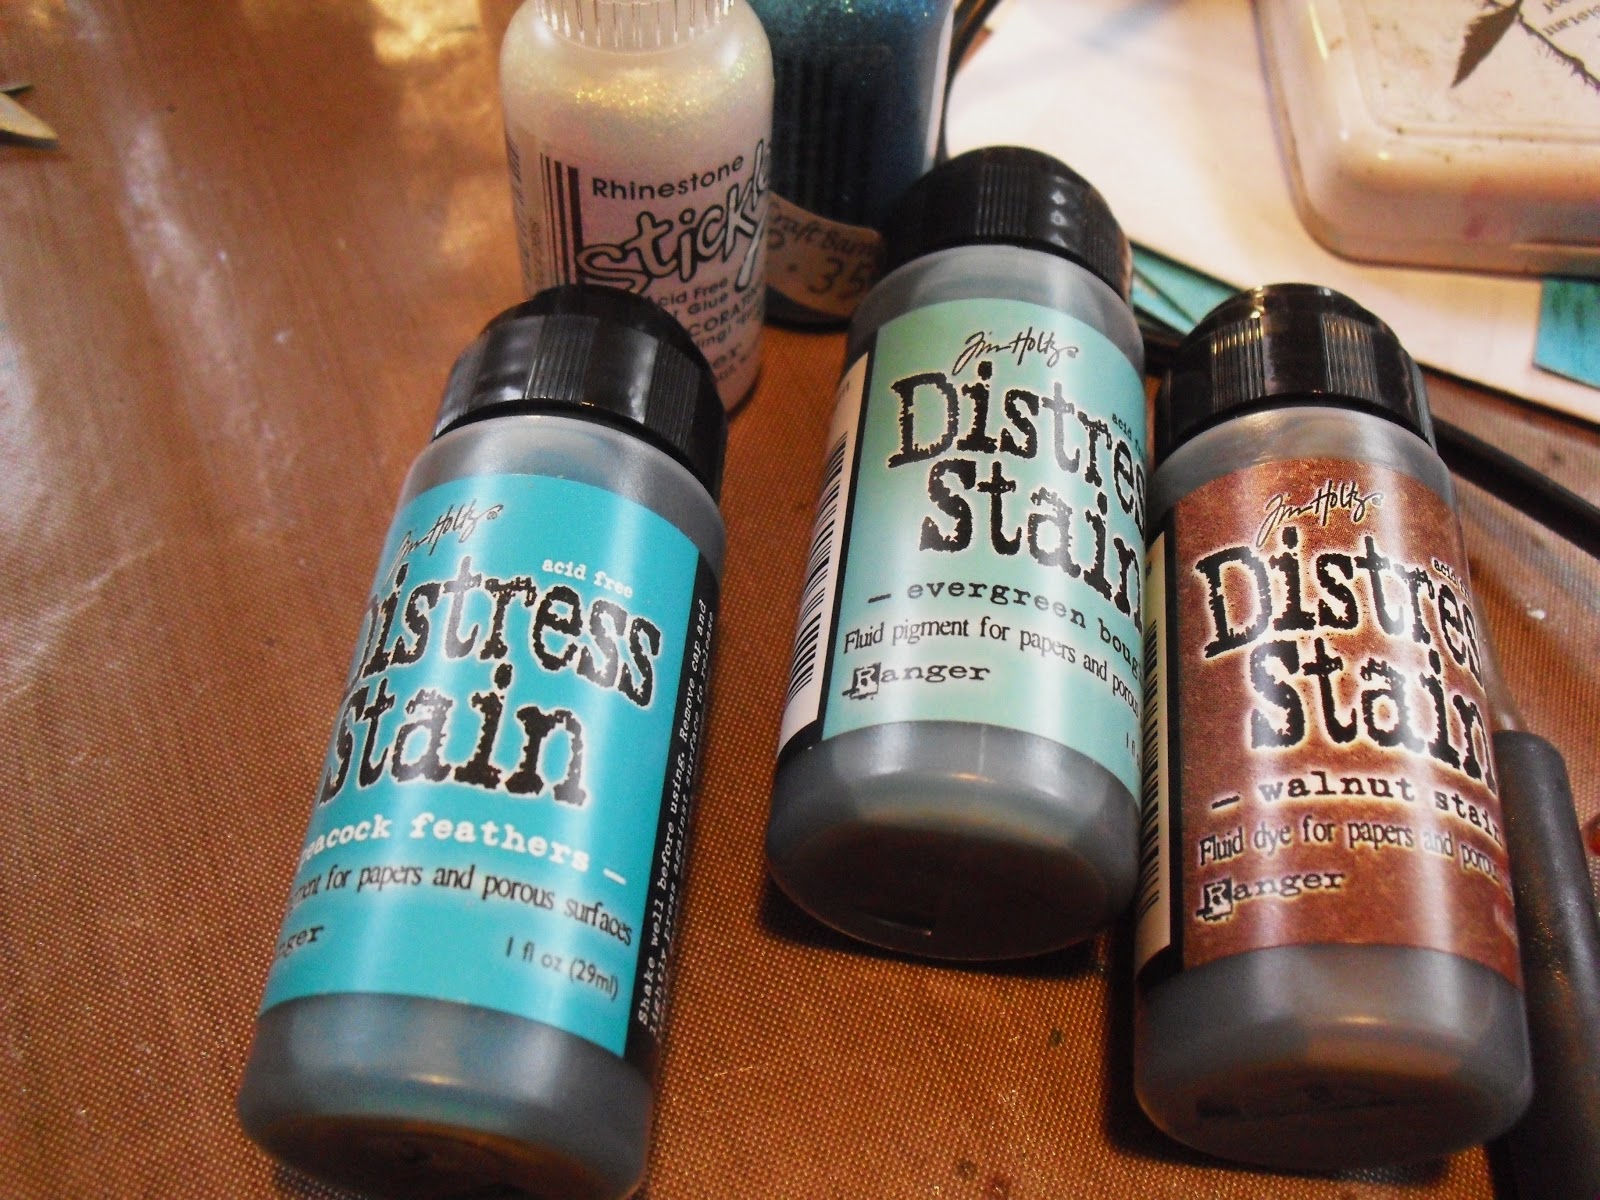
 Ranger Ink Refresher, Perfect Pearls and card, I'm using black for this.
 Begin spraying the refresher over the card, you want a good liberal coating
 Like this!
 Massage it into the card until it is all absorbed in.
 Then scrunch it into a tight ball. I scrunch it as tight as I can and roll it in my hand too as if it was a ball of clay. You want a good selection of large and tiny creases. While you are doing this you should begin to feel a difference in the cardstock as it become more supple.
 When you open it out you should have something like this.
 Take a selection of Perfect Pearl powders and dot randomly over the paper and then
 Use a brush to massage and rub the colours, blending and mixing them until the whole page is covered

 Like this! You can leave it to dry or dry with a heat gun. The perfect pearls will not rub off as the moisture in the liquid binds them to the page and  what you will end up with is a piece of cardstock that feels like supple leather. Pretty amazing; and it stays that way even when dry! So what can you do with it? Well it makes amazing covers for books; backgrounds for cards or you can die cut to create amazing flowers like this
 I've used the Tattered Poinsettia die to create a flower out of the piece I just made and added it to the tag as a focal point.
 Isn't it gorgeous? Once I'd made the flower I decided to use it on this tag. Love the stamps I stamped the machines onto the background of the tag in Distress ink Chipped Sapphire and used Walnut Stain and Stormy sky to blend. The Image was stamped in the Same Distress inks too and I used Stormy Sky Distress Marker to colour the feathers and lastly added a thin layer of Rock Candy distress crackle over it before mounting with 3D foam.

I hope you give this technique a try because you really have to see and FEEL it to appreciate it fully!
Take care; got to go prep for my class on Sunday!

Wednesday 21 November 2012

WOYWW 181

Good morning and welcome to the world of international desk hopping hosted by Julia HERE.
Time to make public your workplace for the voyeurs of the world.........
Mine is the proverbial tip today as I'm in full creative flow and working on a thousand techniques at once so here goes.
 Well, I tried to warn you. There's pots and potions a plenty, inks paints and pastes galore. Other than that there's not much to see. The handsome chap at the back is from a book of art plates.
 I've been using my Ranger technique tags.....
 Turning ordinary kraft card into something wonderful with Ranger's ink refresher and perfect pearls.....
Lastly, a pile of wonderfully textural fibres from Jo that I haven'y packed away yet.....
So not too much happening. But all of the chaos on my desk is leading somewhere; I just don't want to share where at the moment as I'm not finished yet. But here's a couple of clues.........


Hope you all have a lovely and creative week!

Tuesday 20 November 2012

Happy mail and more....

Good morning everyone. I trust that it is all well in your world this morning.
Wet  it may be but I'm still going to enjoy my day! Thought I'd share a bit of a round up. On Friday I had a fun class at The Craft Barn teaching my flowers galore class. Lot's of very inky fingers by the end of class but everyone seemed to have a good time which is important to me. Then on Saturday and Sunday I kept myself occupied doing this
Tarting up the patio. We'd been blessed with some paving slabs a while back which I wanted to use to lay a path to the studio so I could get there in winter without getting muddy footprints everywhere but there was plenty left so I laid them on top of the existing concrete and in filled with calico slate and I think it looks so much nicer now, don't you? /water can still run off ok through the chippings so it's all good!
Yesterday was a good day too.Happy mail arrived from Jo of Jozart in the form of an angel. Isn't it fab!?

Lot's of bling going on here with gilding flakes and glitters; truly gorgeous so thanks Jo. Yours will be in the post today, I promise!

Yesterday, Mark came round and we actually managed to get some crafting done! We both had got a Tim Holtz configurations printers tray a while ago and decided to work on those together. I had a bit of a head start because I was impatient and had already covered and inked my base but Mark had to start from the beginning! Obviously I did not get it finished yesterday but was working on it last night too and thought I'd share a teaser pic for you!

Yes, I know. Not giving much away am I?
Hope you all have a lovely creative day too, wherever and whatever you may be doing!