Good afternoon friends
I hope that this finds you well. I thought I'd share a quick little step by step today. Have you ever looked at your stamps and thought "That would be perfect if it was facing the other way"?
Well, a little while ago I was just sitting in the studio and I had an "I wonder if....... " moment with regards to gesso transfer so thought I'd give it a try.
Luckily I took some pics along the way so here is my step by step for transferring a stamped image using Gesso.
One thing to note before we begin; this technique is not going to necessarily give you a crisp image so it will suit a more shabby faded look.
Shall be begin?
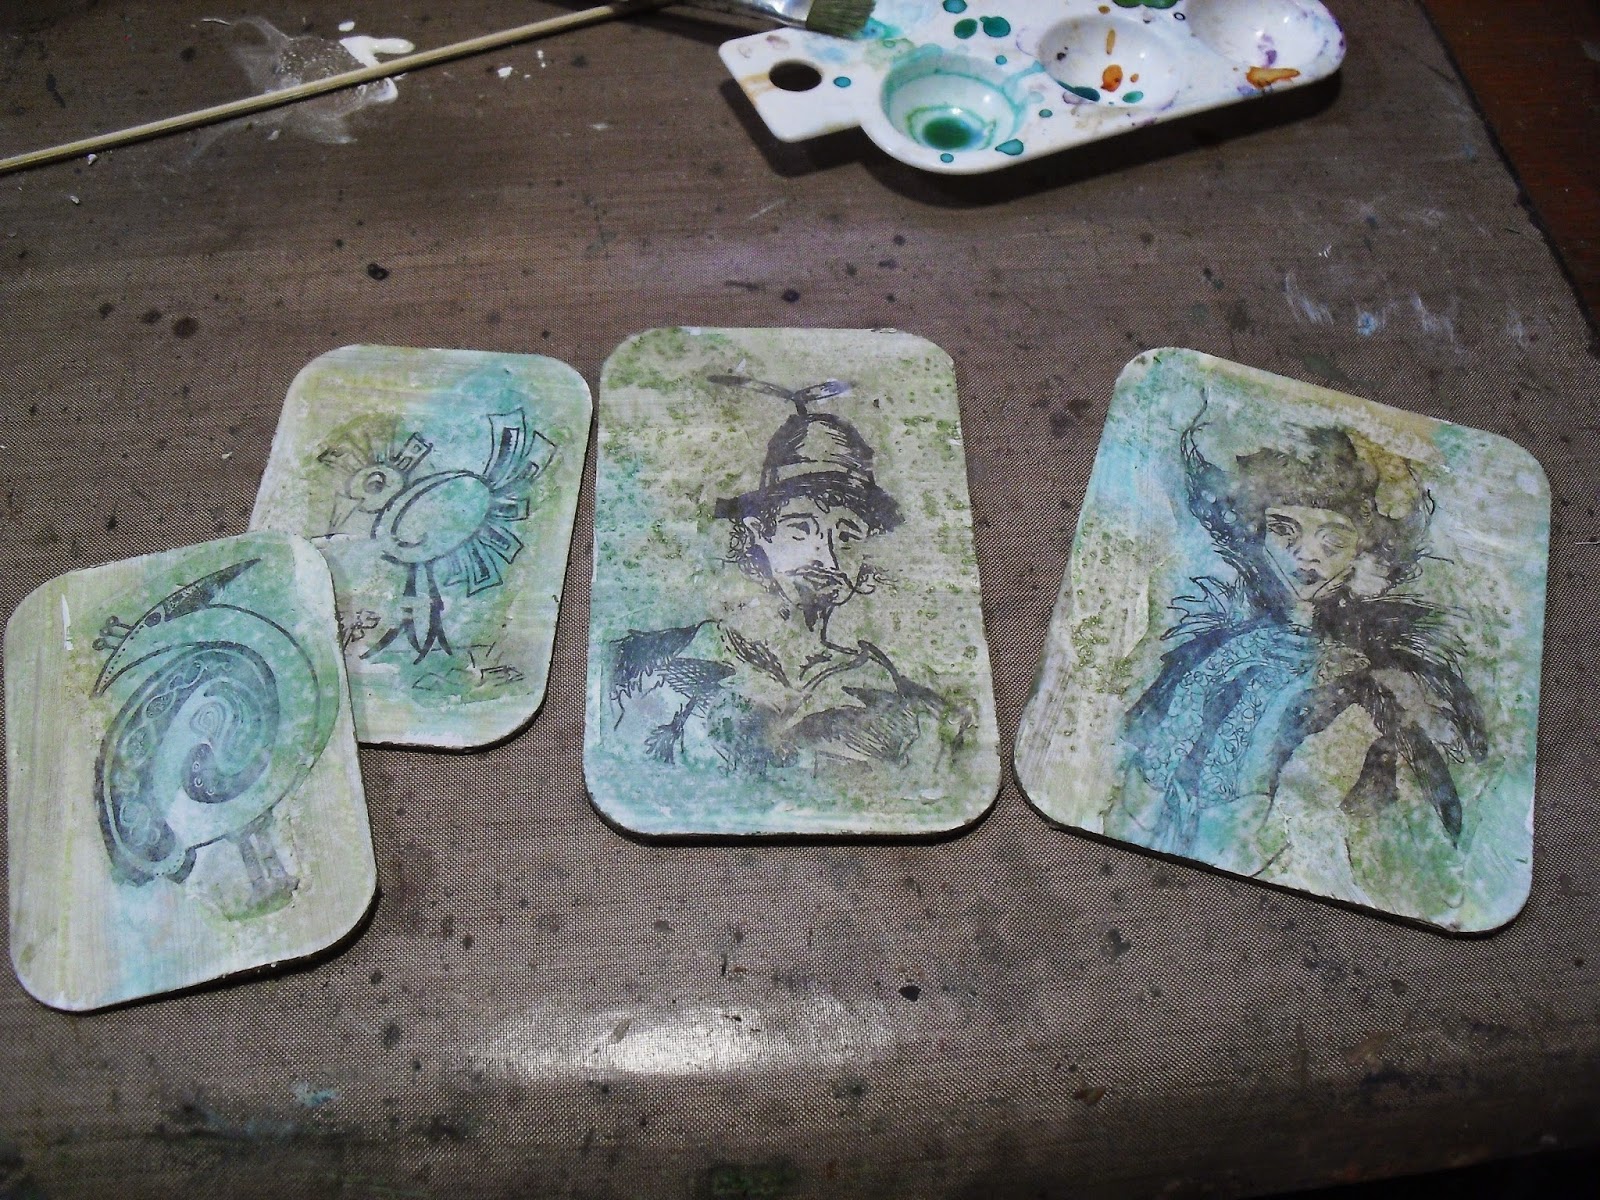
Start by stamping your images in Black Archival ink onto light card or paper. For my experiment I used a couple of my Bird stamps and Kiki and Franswaer. Once stamped cut them out and pop to one side.
Take a piece of chipboard (Though you could just as easily work in a journal, book cover or prepared box I'm sure)
Cover the chipboard with a thinnish layer of gesso(It needs to be thin but still wet when you put the images down onto it. (Experimentation is the key) Lay your images down into the wet gesso and press down firmly. Now you need to leave it to dry thoroughly, preferably for a few hours.
For the next stage I forgot to take photos but it is clear enough. Spritz water onto the card and begin to rub the card away until you begin to see your image appear, keep applying water and rubbing but keeping it pretty gentle until you are happy with the result and have removed most of the paper away. (Don't throw the resulting soggy mass of rubbed away card into the sink but into the bin otherwise you run the risk of blocking the sink.)
Once you've finished that you can add colour. As you can see, I cut my pieces out into individual pieces, I added a wash of paint (Traditions) and sprinkled some salt on and left to dry. When dry I rubbed off the salt and was left with a lovely textured image.
You can see more detail here. Now you've done that, what to do with it? I did this......
I worked on the images by adding some Tissue tape and stamping to fill in gaps and edged them with Distress ink. I then added a layer of Triple thick glaze (word of warning here; I thought I'd messed everything up as the glaze reacted with the salt and went all cloudy! Fortunately it cleared up after a couple of days but if you do this kind of salt technique just try to take off as much of the salt with a damp cloth before glazing, or don't use glaze!)
I decided to add the tiles onto a shabby journal cover I had done. I thought they suited the style and tied in nicely with the shabby look.
I think it's a fun way of playing around with your stamps to create something a bit different. I think it would look pretty cool if you took a piece of card and did the gesso transfer on one side and then stamped the same image on the dry gesso on the other side, I just haven't got round to trying it yet.
What do you think? I'd love to see the results if you give it a go.
Enjoy the rest of the day and I'll catch up again soon!


6 comments:
EXCELLENT - they look fantastic :-D !!! Thank you for showing us Neil
Hugz
IKE in Greece xxxx
Ooo have been thinking how to flip stamps but never thought of this
Will need to try :-)
Thnx for sharing
Have had to bookmark this page - no time to play today!
Mickie
Brilliant tut Neil thank you for sharing x
Must try this! Thank you! Erin xx
Brilliant idea Neil, will definitely have to have a go. The finished tiles look great.
Post a Comment