Tuesday 31 January 2012

Texture over at Try it on Tuesday

Good morning peeps.
I hope this finds you all well and ready for a new challenge. This week over at Try it on Tuesday we are looking at texture for this weeks challenge. Sponsored by The Craft Barn who are giving a £15.00 voucher to the winner.  Also just to tell you that there is FREE POSTAGE for all UK orders, for the EU, free postage on orders above £20.00 and for the rest of the world, free postage on orders above £30.00 at The Craft Barn until 6pm Thursday 02 February 2012!
There is plenty of inspiration over at the Try it on Tuesday blog HERE so do pop on over.
For my project this week I was playing in my journal and looking at ways of adding texture to a page.

 I embossed some lightweight card with a clocks embossing folder and adhered it to my page with multi medium. When I blended distress ink over the page it gives you a lovely texture to the page without adding too much bulk. I cut out the clock and then covered with ink and distress crackle which also adds some lovely subtle textures too.
Hope you all have a lovely day and that you have time to create art!

Monday 30 January 2012

A special book

Hi there everyone.
I hope you all had a good weekend; not sure where mine disappeared to but I was reliably informed that I did in fact have one...... I'll take their word for it!
A while ago I was looking for something and found a pile of handmade paper that my father had made for me years ago and I thought I'd lost. As my father is no longer with us I wanted to do something special with them so decided to make a journal using them. I know that they have been sizes so I can write on them and this way I will be remembering him every time I use it.
I used 3 pieces per signature and sewed them together and used 4 for this book. I cut the covers and spine from mountboard and covered with texture paste and left to dry overnight.
Then I made the endpapers for the book by covering the page with Frayed burlap distress stain and stamped using Katzelkraft stamps from the Egypt plate. These lovely stamps are available direct from France HERE or if you are in the UK they are available exclusively from The Craft Barn HERE.

I assembled the book using binding cloth for the spine and additionally secured it with some brads too before painting. The finished book looks like this
The front
After painting I stamped the head onto tissue paper and attached with multi medium. I added some mica fragments too and highlighted sections with a gold pen before sealing everything with a clear glaze which will protect everything.
I did the same on the back cover too
Now I have a special journal that every time I use it will bring back treasured memories of my amazing father who I still miss very much. I have not decided what to do on the spine yet but I'm sure I'll find something for it somewhere along the line! As the theme this week over at Simon says stamp and show is kings and queens I'm going to enter this as The main image is of an Egyptian king I guess it fits the bill!
Hope you all have a blessed and creative week.

Wednesday 25 January 2012

WOYWW#138

Good morning peeps
Dull drizzly and damp around here so I hope you are faring better in your neck of the woods. Time for us to stand up tall and share our desks with the world; no matter what state they are in! If you've just landed from another planet and don't know what I'm talking about then just follow me through this door HERE to Julia's place where all is explained....

My desk is once again; a bit of a mess
Everything just pushed and pulled and dropped on top of..... just your average creative's desk after working on something but before the decontamination team has been in.
But on the left you can see my steampunk style box is taking shape nicely now

I'll be starting on the inside soon but as ever, I'll keep you posted.
On the right is a small jewellery box I did for the guest room using some fabulous Katzelkraft stamps - hard to believe this lady in the gondola is a stamp......
I just need to finish the bottom neatly before it goes into the room.
So that's my lot today. Now I need to tidy it up a bit before starting the next project........... though perhaps I'll pop into chat for a bit.
Whatever I do I hope you all have a great day.

Tuesday 24 January 2012

Tongue in cheek

Good morning all.
Welcome to my Tuesday world. Over at Try it on Tuesday the new theme this week is "it's in the mail" Now how many times have we heard that phrase before? I decided I'd do a slightly more tongue in cheek journal page of the phrase. 


It was fun to do and the message inside is a reminder to me that as a Christian the Bible teaches us that our lives are lived in Christ which in this helter skelter world we live in is something that I need to remind myself of. Hidden journalling like this is good to do if there are things you want to say but do not necessarily want everyone to read.
So, there's plenty more inspiration over at the Try it on Tuesday blog so why don'y you pop on by and take a look?
Hope you all have a blessed and creative day today.

Monday 23 January 2012

Jewellery box for Katzelkraft.

Hi there peeps, told you I'd be back. Just wanted to share this with you. The main post is over at the Katzelkraft blog HERE with all the details but here's a picture of the finished project.
Have fun today everyone.

Cover a card stamps at The Craft Barn

Good morning all
I trust that everyone had a fabulous weekend and that the coming week holds loads of fun creative stuff ! Over at The Craft Barn Blog it's backgrounds week so we are looking at different ways of using background stamps.
If you follow the link you will be transported over to the blog where you will find all the details of my cards.
Here's a sneak peek
I'll be back later with a project for Katzelkraft, I'm just waiting for better light as I forgot to take photos over the weekend!

Thursday 19 January 2012

New journal

Good morning peeps
It'd dull and wet outside so I'm kinda putting off going out to my studio....... though I do need to go really, or perhaps I'll read a book........
Anyway, I thought I'd share my new journal with you.  I like the size of the Bluebell book I got from The Craft Barn a while ago so last time I was there I picked up another and decided to cover it before I started inside.

So here is the front

And the back

I started by gluing some pieces of hand painted papers to the covers and stamping the images onto that using archival ink. The Stamps are from the Lynne Perrella collection by Paperartsy. I then covered the rest  with some random peeloff alphabet stickers to give a bit of dimension. (I have loads of peeloffs and never use them so I find this is a good way of getting rid of them! I used the letters to spell out TRY on the front of the journal. To prep the surface I covered everything except the stamped paper with gesso and then hauled out a ton of acrylic paints and started to add colour until I was happy! The last thing I added to the cover was some Inka gold to highlight the letters more.
I covered the book with a gloss glaze and sprinkled some glitter into it and left to dry.
When it was dry I punched some holes with the Crop-o-dile and secured the key using some parcel twine (the one that Mario used to tie my gift/prize from Tim Holtz - well I wasn't going to just bin it, was I?) and I added the fragment of jewellery to the stamped lady.
I'm really pleased with the end result and the glaze keeps everything nicely protected too.
Since Simon Says Stamp and show anything but a card this week I thought I'd enter it for that too.
Right, I'd better get myself off to work now so have a lovely day everyone and I'll catch up later.

Wednesday 18 January 2012

WOYWW#137

Good morning peeps
Wednesday desk reveal time again; can you believe it!? Well, I was searching for something and made such a mess I ended up having a bit of a tidy just so I could think straight. I had to shove all my "secret" projects out of the way so as I was staring at the bare desk and had just a few moments spare I whipped out this journal and had a VERY quick little play.
Otherwise a very boring desk for this week.
 My wife was going to dispose of this cd stand so I removed it and it now houses my dies....
 This a detail from the page, Dreamweaver stencil, crackle paste and red acrylic paint, not sure whether I'll use it on this page in the end though.
 Then I decided to start using these jars I did ages ago so decanted my Stampendous Frantage mica fragments into 4 of them, gluing samples onto the label for reference and writing the details on the back., two more house little bulldog clips and there's two left to fill which I'm sure will not take long! They look pretty cool there I think, much nicer than the original plastic pots.
 Then, because I've moved my dies over I had space on this shelf so moved my books of Tim Holtz stamps over as well as the books that I made to house my embossing folders. They now fill the shelf below my A4 box files that house my other stamps so now all my stamps are together. Just need to finish labelling those new files now.
So there you have my space this week, looking a bit organised and neat though I can assure you it never lasts!
Have a fun day and I'll see you over at Julia's place for a quick natter (If I have time; I'll be honest there are so many now I can't get round to you all so I have to do a bit of a lucky dip!)

Tuesday 17 January 2012

Fairies at TioT and a fish........

Good morning folks
Bit late but my internet has been down for a few hours so I've been a bit stuck!
Over at Try it on Tuesday its a new challenge; do you believe in fairies? There's loads of inspiring projects from the team so do pop on by. There is also a DT call for some new members over at Try it on Tuesday so if you fancy a shot do follow the instructions on the blog so we can come along and find you!
This is my tag for this week; nice and simple as I don't have many fairy stamps in my collection!

Also this morning is the beginning of a new week of inspiration over at The Craft Barn blog, "Mechanical week" so cards and things that have interesting things happen when you open them..... I'm starting this week with a simple card , here's the front but to see inside you'll need to pop over to The Craft Barn blog HERE!
Yes, I know, i'm a tease but you are curious now aren't you?
Have a lovely afternoon everyone.

Monday 16 January 2012

Journal page

Hi there everyone.
I hope you had a lovely and creative weekend. I've had a good one, I had a nice full class for my art journalling class at The Craft Barn on Sunday; thank you ladies for making it such a lovely time, I couldn't do it without you!
So today I was fiddling around in my studio (Grandiose word for shed at bottom of garden!) and after I'd finished some of the stuff I had to do I finished off this journal page.

  I'd started the background during the class yesterday, just showing some of the quick and cool effects you can get with distress stains, masks and babywipes...... so today I added the stamping using Katzelkraft mini 18 and mini 20 plates (The seagulls and ship) The torn paper pieces along the bottom are from one of the backgrounds I did yesterday too and the ship is also stamped onto that and cut out and stuck down.
Katzelkraft are a French stamp company that have really lovely and different stamps. You can get them direct from France HERE or in the UK they are exclusively available from The Craft Barn.
Hope you all have a great evening.

Friday 13 January 2012

Seeing red at The Stamp Man

Hi there
It's the first new challenge over at The Stamp Man today and it's a nice flexible one to get you going; Red. Appropriate for many who are thinking of valentine. I however, managed to forgot it's almost Valentine's day and ended up with this rather dramatic and perhaps more "disturbing" tag!
The tag is cut out of glossy card, then covered with fired brick distress stains to give the dramatic red colour. The colours really pop out on gloss card. I stamped the man in black archival and then used the harlequin stamp to ground it. The sentiment was added along the side and I stamped the hand on a separate card , coloured with distress ink in spun sugar and black soot and rubbed some glossy accents over to give a bit of shine. To finish I used black soot on the edges and spritzed with water to add interest, stamped some of the ink blots onto the tag and lastly decided to add some detail using the hanging sign die.
So definitely not a love letter! I guess I was thinking more along the "Red is for Danger" lines, but sometimes though we step out and follow a path that at first glance seems rather challenging and spooky; it is that very path that awakens our souls to the possibilities of life......... when personal or creative.
Remember there's a £10.00 voucher up for grabs for the winner of this challenge so I hope to see you there at The Stamp Man challenge blog; where there is loads more inspiration from the team too!

Thursday 12 January 2012

Another Altered bird.

Hi there, yes, just little old me again playing catch up. Last year I found another bird shape while out so had myself a little play with it. It is similar to my first bird but different too!
I went for brighter colours this time with all the stamping done using a selection of Crafty Individuals stamps.
The wings and fringing are all done with grunge paper which is great for projects like this as it keeps the shape so you can get some really lovely details that will stay, like this fringing detail along the back of the head.
The "crown" and "breastplate" were made by bending some ornate metal corners and colouring with alcohol inks.
O used the same corners to add interest to the back section as well which I particularly like. I also embossed some of the grunge paper with the regal flourish folders to add some more texture too.
I used some idea-ology tokens and chain to dangle from the wings, made some grunge roses for the base along with some vintage tape measure and loads of sparklely gems (to cover the nails!) to finish.
So there you have it, the latest addition to my bird menagerie, hope you like it.

The colour wheel...

Good morning everyone
I clean forgot  about this yesterday! Mind like a sieve at the mo so thought I'll do it today.
Over at The Craft Barn blog this week we are exploring colours using the colour wheel. I have done 3 tags in different colour combinations to show how colour choice can impact on the feel of a piece.
Here's one of the tags, there are another two on the post so please follow the link and see how they work!
I hope you all have a brilliant day!

Wednesday 11 January 2012

WOYWW#136

Hi there folks;
It's time for the weekly round up of international desks hosted by Julia at Stamping Ground. Now to be honest I was not going to share this week as there is so much going on behind the scenes of my life that are taking much more time than I thought that I'm not getting much time to do some "me" crafting. However, my desk kicked up such a storm and tantrum when I mentioned it that for the sake of peace in the studio I thought I'd better come along and say hello. (If I didn't I'm sure my desk would begin to hide all my essential tools from me!)So here is my place
As usual, here is the overview; and no, I didn't climb on a chair; it's a small shed so I just need to lift my hands slightly...) What's lurking there today?
On the left are a couple of the containers I use to store my stamps and now my masks too. I love these but I had not seen them around for ages (well, not the cheap ones anyway) so when I saw them in my local 99p store I grabbed a lot! they are great as you can see the contents at a glance so I keep manufacturers together.
Then, this is for you Julia, after I confused you last week, it's my inka gold, along with some of my other glazes, glues etc.
This also arrived yesterday, the embossing folders from the Inspiration Emporium which were my prize from the 12 tags challenge they had and in which I won a $20.00 gift certificate; postage took up most of it but I am pleased to get these, and along with that came the lovely tag too. Underneath are some small vintage keys I found at a flea market the other day.
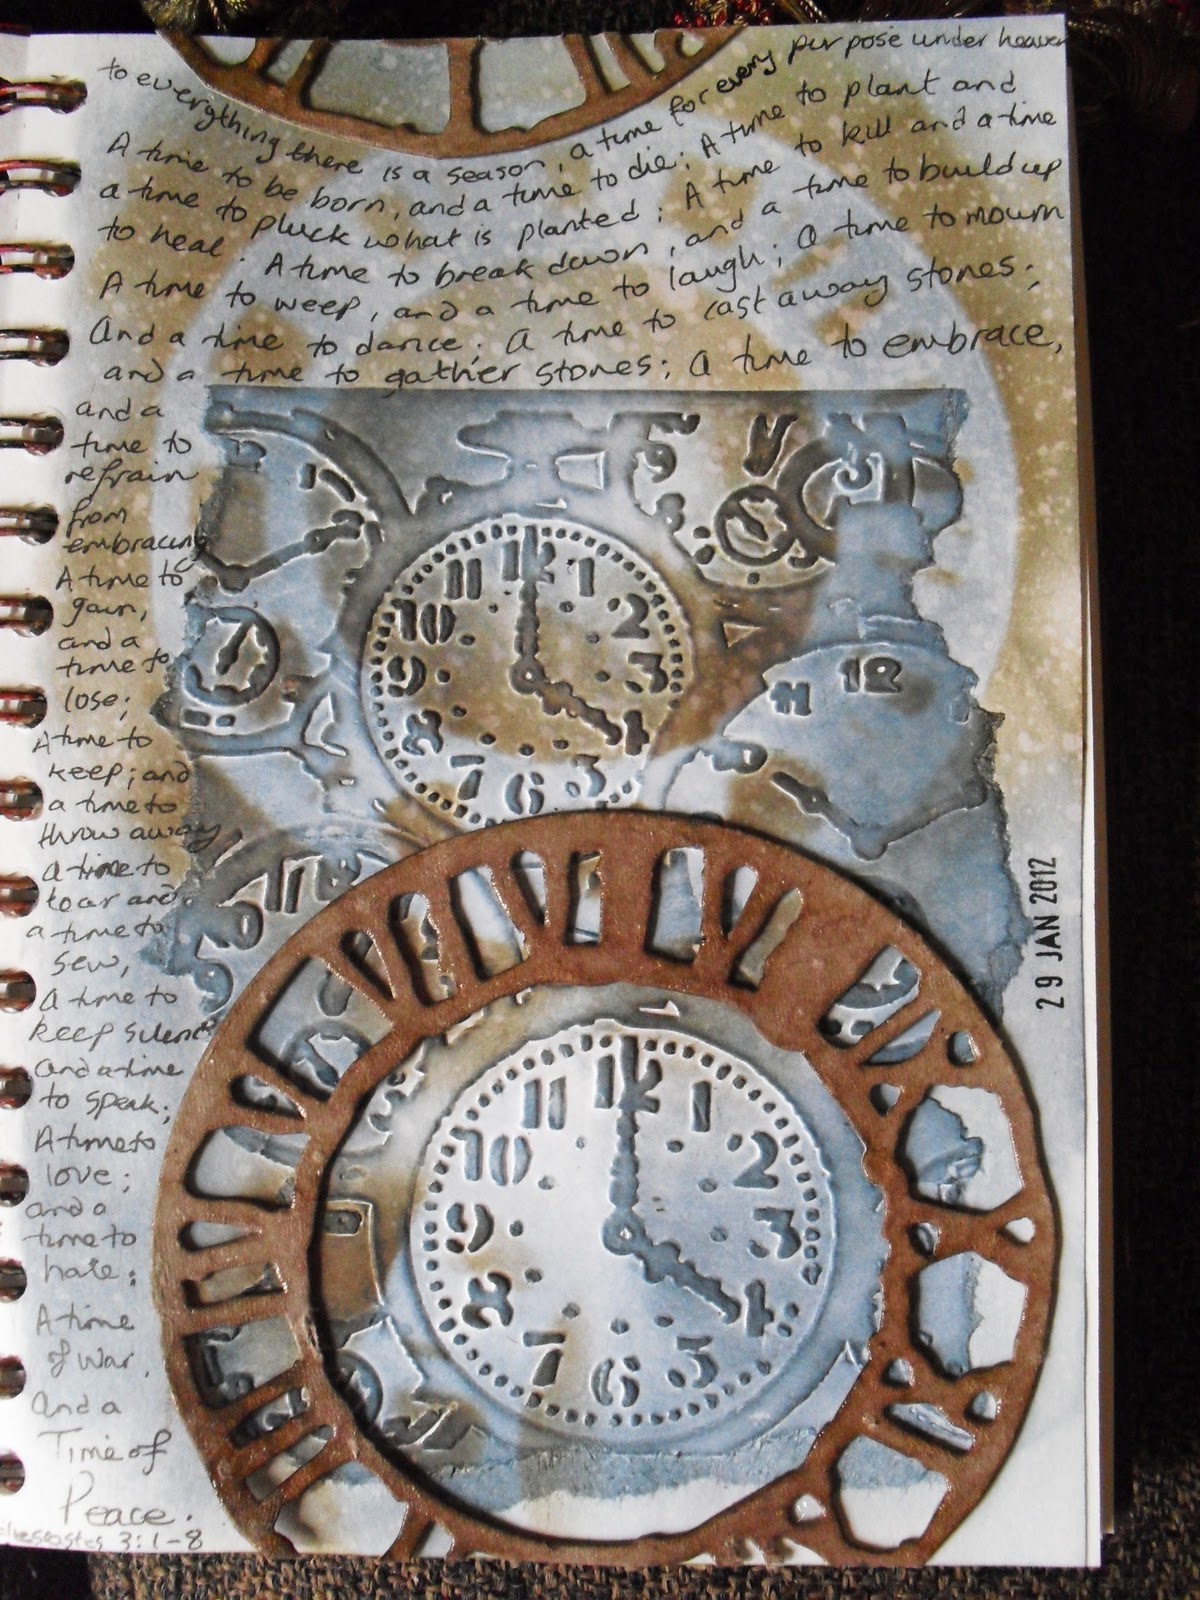
Then there's my steampunk box which is SLOWLY getting some colour, but still a long way from finished.
Then, lastly, I got another journal from The Craft Barn as I like the size and price so am just beginning to develop the cover, again there's a bit of work to be done but I have an IDEA! (Peel off's will be involved......)
So there's my place this week, lot's of unfinished stuff, the finished projects are hidden but I'll keep you posted as I finally get these finished. Hope you all have a blessed and wonderful day!

Tuesday 10 January 2012

Upcoming classes at The Craft Barn

Hi there
Just thought I'd tell you about some of my upcoming classes at The Craft Barn in case anyone is interested and give you a peek at them.

Friday 27th January

Details are HERE

Friday 3rd February - all day
Details HERE

Sunday 19th February

Details HERE

I'll also be at the first Minifest of the year on Saturday Feb 4th too. Details HERE

Have a good afternoon everyone.

Friday 6 January 2012

At the starting point.....

Hi there everyone
I don't usually do this but since I have not got anything finished yet (That I can share yet anyway!) I thought I'd tickle your tastebuds with the beginnings of a project.
A while ago now, I had a box of Turkish delight from Hotel Chocolat on my desk. It was lovely and proper stuff too so as you can imagine it did not last long. It came in a wooden box which was too good to throw away so it has been staring at me for a while now... until last night it caught my eye while I was waiting for something to dry and I started to play
So here is phase one of transformation
I've used a selection of die cut cogs and some chipboard alphabet circles and shapes to add the dimension and then everything has been covered in a layer of gesso. Then I added a few nuts and watch bits too.
Now I can start to add some colour and more bits to it so i'll keep you posted. Hope you all have a lovely and creative day and weekend.