Wednesday 30 November 2011

WOYWW #130

Good morning everyone and welcome to Julia's magic carpet ride that is What's on you Workdesk Wednesday.
Follow the link HERE to climb aboard.
So; my desk this week looks like this
I am sure that across the time zones of planet earth a large percentage of crafters are doing the same as me; prepping for Tim's 12 Tags of Christmas!
However, before I go into that I have this lovely stuff to show you.
I was lucky to be pulled out Jean of Crafty Individuals blog's  hat for follower candy and it arrived yesterday; my choice of stamp and then  along with that a packet of their lovely tags and a compact mirror. I can't wait to use the stamp!
Back to the desk; I decided to cut out all my tags in preparation for the start, so Bradley has been doing that for me, along with a few extras......
Peeping out at the back is some Christmas sparkle in the form of some tinselly stuff from the 99p store
They are Christmas tags after all! I also have my charms at the ready as I'm sure that they will be used by himself as they were new this year! They are resting on my new reindeer flight day, sent to me by the lovely Rachel; thanks for that, I've wanted them for a while now!
I think that I'll do a pre Christmas tag to get the  creative juices going and pop some Christmas music on the Ipod to get the festive season going! If you are doing the Tags this year, have fun, if they are not your thing, have fun in whatever you create!

Tuesday 29 November 2011

Altered Tin

Good morning everybody;
I hope you are all well. I know it's that time of the year again when time just runs away from us and there are all the end of year dinners, school plays, gifts and cards to make and get; the list goes on and on. I do hope that you do manage to carve out some time just for your creative pleasure though.
Over at Try it on Tuesday it's a new challenge; to alter a tin. Sponsored by The Craft Barn there is a £15.00 voucher up for grabs to one lucky participant.

Here is my tin this week. I decided to alter an oyster tin to create a little Christmas montage.
I coloured the tin with alcohol inks to begin with and then added some shaved ice fragments and microbeedz to the edge and a thin layer of 3d glaze inside with a few bits of the same for added sparkle.
I cut some leaves from Tim Holtz festive greenery die for the top area.
I die cut two reindeer and the 25 from the small movers and shapers die out of card and coloured the deer with fired brick and brushed corduroy distress ink before covering with rock candy distress crackle and leaving to dry. when dry I used aged mahogany stain to colour the cracks and a bit of old silver paste to add some shine.

I coloured the 25 with fired brick and forest moss distress ink before adding some silver paste. I then used glossy accents to add shine and dimension.

I hope you have a great day and perhaps I'll see you over at Try it on Tuesday?

Monday 28 November 2011

Vintage Circus

Hi there everybody;
I trust that you all had a great weekend; I had a busy one; teaching at The Craft Barn on Friday; then a craft fair at my church on Saturday and finishing off with the Christmas tree light switch on and firework display yesterday; no wonder I'm shattered today!
Friday's class we made this printers tray (from Tando) using mainly Katzelkraft stamps (KTZ 67 and KTZ 68)
I'm sharing this over at the Katzelkraft blog today so for more photos and a more detailed explanation please check it out HERE
Last week was the final week of our calenders over at The Craft Barn blog so I've now bound all of my pages to create my desk top diary so thought I'd take photos of all twelve pages to show you!


I'm really pleased with the end result and now I can start to fill in the pages with all my crafting dates and deadlines for the year.
Hope you all have a blessed and creative day and have time to create something; no matter how small.

Sunday 27 November 2011

Tissue box cover

Good morning everyone; hope you are all having a great weekend. Just a quick little visit here today. Last week I told you about the tissue box class I did at The Craft Barn but forgot to take the photo of the project; well I remembered to take photos while I was there the other day so thought I'd share them with you this morning.


Yesterday was our church annual art and craft fair at which I had a table. It was a lovely day and I was happy with the results and also it's nice to know that all the money we raised is going to a worthwhile cause. Here was my table in the morning.

So that was my Saturday sorted; now I have some projects to get cracking with so I'll catch up tomorrow. Have a blessed day everyone.

Thursday 24 November 2011

Just the ticket

Hi there everyone
Thought I'd squeeze a tiny bit of time from my hectic schedule to enter a challenge as it seems forever since I managed to do that! So I headed over to see what Simon says and he says tickets; so tickets it is! Originally I made this little jar of Forest Moss re-inker and perfect pearls mix to add to my collection of washes (I use the empty jars of rock candy distress crackle for these as I like the fact that they have a brush inside!)
So the green one on the right is the newest on; but when I finished it I kinda thought, perhaps labels are not the same thing in their mind as tickets.......... so I made this ATC instead so now you get a twofa one!
I stamped Tim's Ticket ATC stamp in coffee archival ink onto the ATC and blended Aged Mahogany and Brushed Corduroy distress ink before added a wash of the Forest Moss perfect pearl mixture to it.
I threaded some vintage tape through the buckle (from one of my cats old flea collars!) and glued down. I added some leaves and flowers and micro beads and lastly added two more tickets stamped and cut out and added with 3d foam pads.
It's been a while since I made an ATC so I did enjoy it.
Hope you all have a great and creative afternoon; I need to get all my stuff done for Saturday's fair as I'm teaching at The Craft Barn all day tomorrow so won't feel like doing it after that!
Bless you all.

Wednesday 23 November 2011

WOYWW 129.

Good morning folks
Wednesday is hear yet again; travelling faster than the speed of light at the moment! I even saw the first Christmas tree up in someone's home the other day........ I feel a mince pie moment coming .....

Anyway back to my desk. I took these photo's yesterday because I knew I would not get chance to get in there last night after work.
So, here's the overview; do you like the cushion, I found it again the other day and decided it would be much better here. My Mom painted it and it was in my daughter's room on the bed for ages.
You'll see I've moved my DI back down as they were irritating me being higher as I then had to stand up every 5 seconds.
On the left is this little bird hanging which I'm trying to get finished; I thought it would be quick but Mr Mojo let me down a bit!
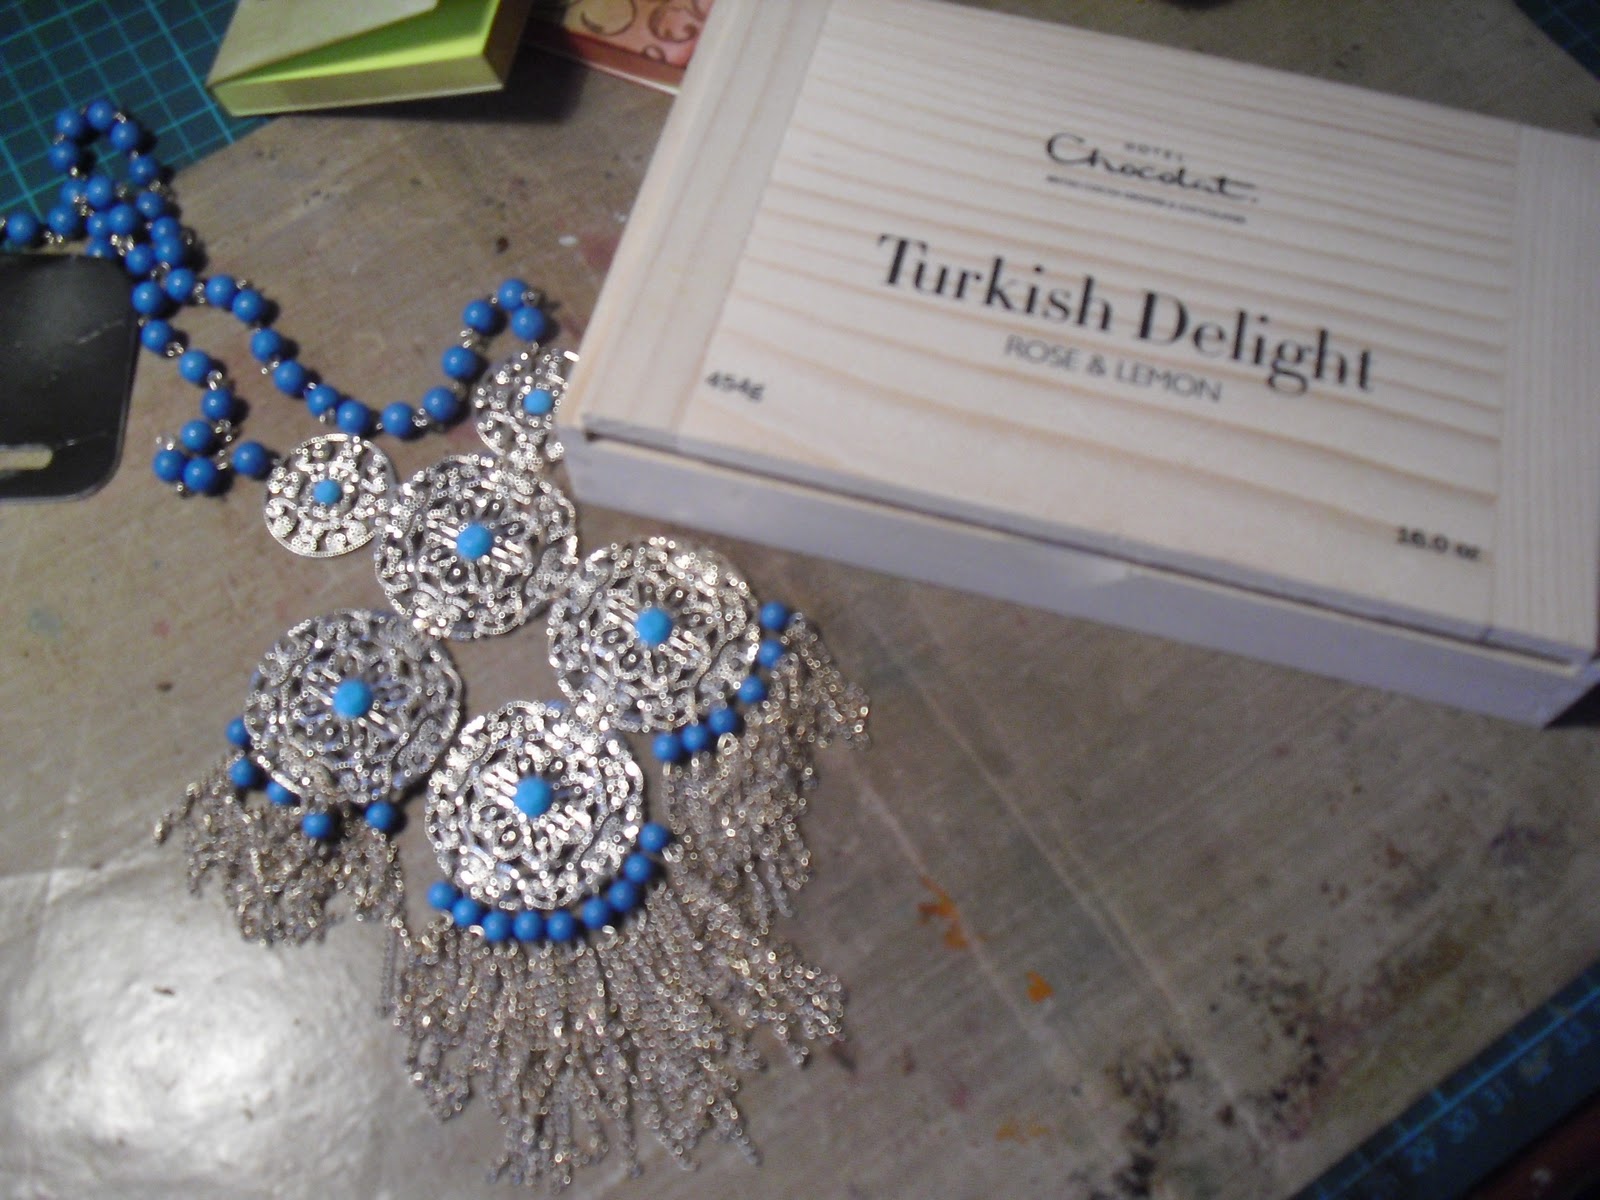
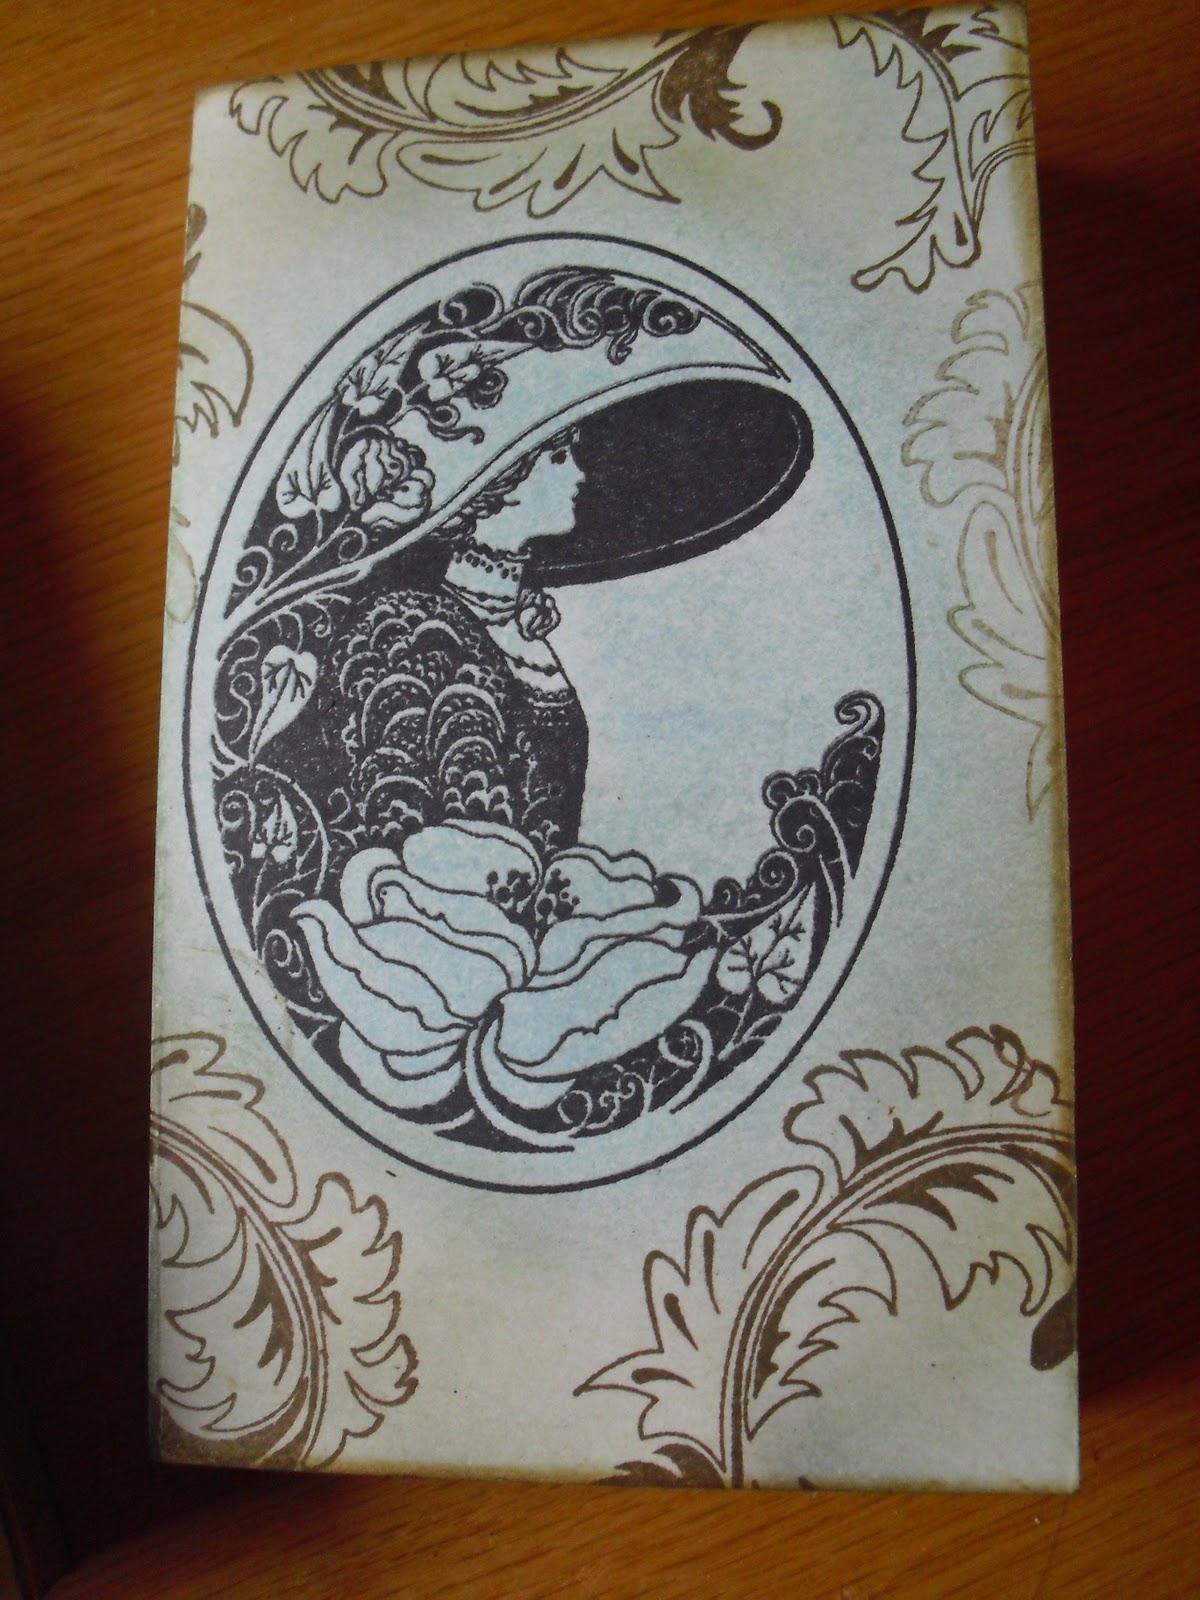
In the middle is this necklace from a charity shop and a box which I'm going to alter with bit's of the necklace. (And yes, the Turkish delight WAS delicious!)
Above that were some of the post it note pads done for the Craft Fair.
Lastly, I added this rack to the back of the door which I think works pretty well; after all, why waste space!
Other than that I've been working on the room, still loads to do but here's a few details if you are interested.
I rag rolled the walls which turned out well I think; the picture is one my daughter did which I really love and the metal "follow your dreams" we found in a tiny shop in Rottingdean.

So, there's my desk; all waiting for me to wake up enough to go out there; but I think I'll stay and visit you lot for a while first!
All desks can be found at Julia's place so do come join in the fun!
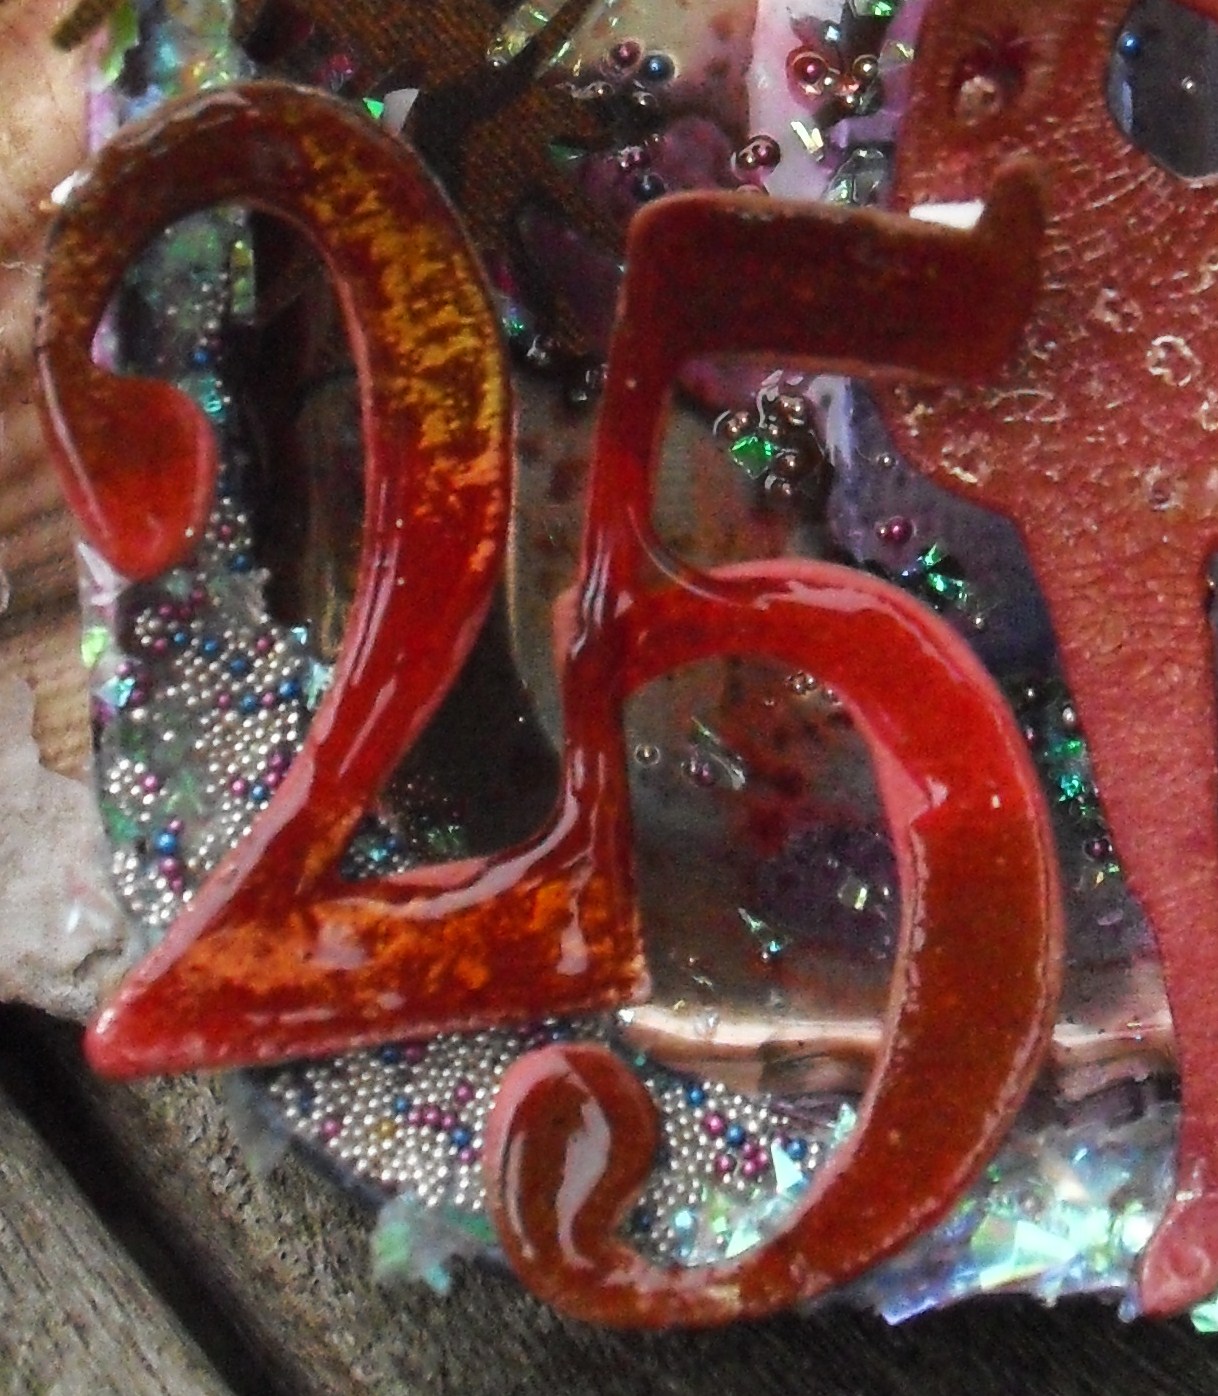
Just a quick little edit, my final calender page is on The Craft Barn blog today, hear is a peek but all the rest of the pics are there too with all the details so why don't you pop on over there too and say hi?

Tuesday 22 November 2011

Shrink plastic at Try it on Tuesday

Hi there
The new challenge over at Try it on Tuesday is Shrink plastic. So as it's a wild card week you can do anything; a card, altered project or as in my case, a tag.
I used a piece of textured paper cut with the alterations tag die to create my tag. I have a step by step tutorial on making the paper HERE if you want to have a go at making your own, it's great fun!
It is always difficult getting a nice stamped image onto textured surfaces so I stamped my image (I used Paperartsy Songbird) onto tissue paper in archival ink and adhered to the surface with matte multi medium. When it is dry you can still see all the textures but your image is nice and crisp!


I did do some extra stamping direct to the tag but they were patterns for added background interest so if a spot missed it was not too noticeable. I added a lace border to the bottom (Alterations vintage lace strip die - really lovely die!) I then cut a rosette out of stamped and coloured card.
I stamped the bird and the words onto white shrink plastic and heated to shrink. I added it to the rosette and attached to the tag.
The rest of the team has done some lovely things too so pop on over for loads of inspiration and to join in the fun!
Other than that I've not been up to too much crafting as I have been decorating on of the bedrooms but I have been doing some little bits for Saturday's craft fair
These little post it note folders, two using the same stamp set as for the tag

 and the other 3 using these gorgeous Katzelkraft stamps.


I like these covers as they are great to keep pads next to the phone or if you stick magnets to the back you can pop them onto the fridge.
Katzelkraft stamps are available direct from France HERE or in the UK they are sold exclusively at The Craft Barn.
Hope you all have a blessed and creative day.

Friday 18 November 2011

Based on Tim's tags at The Stamp Man

Hi there everyone.

It's the start of a new challenge over at The Stamp Man. This time we are looking at interpretations of Tim's 12 Tags of Christmas.
I based my card on Tim's 2010 tag number 9 to make this card.


I used the Seasonal Silhouettes stamp for the background using Tumbled glass distress ink and then blended some peeled paint over the top. I added the snaps to it and mounted it onto silver card before adhering to the card blank.
I inked and stamped onto a strip of card and made the rosette using the Alterations die.
The letters were cut with Alterations Carnavale die and stamped with a flourish from the Mini holidays stamp set.
I used an Idea-ology charm to decorate and coloured the letters in the same distress inks before sticking down and then covering with glossy accents to add shine and depth.
So there you have an interpretation, I left off the tinsel and buttons mainly because my tinsel is still in the loft and I could not find buttons to match!
The rest of the team has come up with great projects so why don't you pop on by and join in. There's a £10.00 Stamp Man voucher up for grabs as always.
Enjoy the rest of the afternoon.

Andy Skinner week calender page

Good morning everyone
Hope you are all well. It's my turn over at The Craft Barn for the calender challenge this week where we've been exploring the world of Andy Skinner.
So, here is a peek at my page. All the rest of the details can be found HERE
I just love the old metal effect and how it can be achieved with paints and bits and bobs!
Today is studio day, I've almost finished rag rolling the walls and though still lots to do, my studio is calling........ see y'all later; be blessed in your artistic journey today!

Wednesday 16 November 2011

WOYWW #128 What's on your Wardrobe Wednesday.....

Good morning everyone and welcome to WOYWW  hosted by Julia at Stamping Ground so feel free to pop over and join in the fun.
To be honest, my desk has been a bit neglected for the last few day but since that's what you are here to see...

Just a messy desk with very little other than this little piece in progress using the winter distress inks.
So why such a neglected desk? Well, I've been working on a re-decorating project. Still a long way to go but I have done the wardrobe though. I was thinking to myself that most of us use distress techniques on tags which are lovely and small ; I must need my head examining as I decided to try it on a "slightly" larger scale!
Starting with this pine wardrobe. (Lighting not great as I usually remembered to take a photo when it was dark!)
I covered it with a primer and then painted it blue
I added some Vaseline to the wardrobe and painted it cream and rubbed some off.

It does not look too exciting yet, but then I added the magic........

Now I'm back to icky brown!

But after rubbing down and cleaning off I got the distressed aged look I was after; layers of blues and creams all stained with "age" for my Parisian vintage shabby room 


I'm happy with the end result and am now busy rag-rolling the walls.........
Normal crafting should hopefully resume shortly!
Have a great day everyone!