Monday 29 September 2014

Just poking my head round to say hello....

Good morning folks.
I trust that you are well. It's been busy busy here, I'm playing tour guide and having a blast showing my sister around and just enjoying spending time together.
So,not too much going on in the craft cave at the moment. But, since I have a moment or two I thought I'd pop on and share this.
A while ago, I was given a few sticks of Decomache Melts to try out. They look like long glue sticks in different colours so Alyssa and I had a play.
 We popped it into a mould
 and when we had popped it out, very quickly realised that you need to make sure you get it right down into the mould as it is not as fluid asUTEE for example so will not self fill.
 Still, we cracked on and made a few more wish varying degrees of success. I wasn't really keen on the colours so decided to change them
 With the aid of DecoArt's Metallic Lustre and a brush....
 They began to change into something I could use. You can see the difference between the plain green and the coloured butterfly.
 This one's kinda cool too. I like how the base colour is still showing through but it is pretty subtle at the same time. It was fun to play around with, however I personally think I will stick to using UTEE or resin because I know it will get into all the crevices and I'll get the details.
Now, I think I'd better go and get myself sorted for another day of sightseeing......(it's a tough life isn't it lol?)
Take care folks and I'll catch up soon.

Saturday 20 September 2014

Home alone.....

Good morning friends.
I hope you are well. I'm home alone today as my Wife, sister and cousin have nipped over to Brussels for the day.....(as you do.) so, while I have a moment I thought I'd share something I've done for my Mother.  She lives in South Africa and so I thought I would make her a load of flowers etc for her scrapbooking. Then I thought that rather than just sending them loose I would make a box for them. This is it finished.
 I've got some step by steps for you too so I won't go into the technical details now.
 I used an ATC as the centrepiece. I stamped one of my birds onto it. Masked it off and stamped my small backgrounds over. Everything was coloured with Dylusions inks. I added some Liquid Pearl details and a Chit Chat sticker before adding 3 layers of clear UTEE.
 Now I'm busy filling the box with an assortment of flowers........
 I decided to have a little fun with the inside of the lid too......

So, now, if you are interested, this is how the box itself was done.
 I took a nice solid box and gave it a couple of coats of gesso to cover the printing.
 Then I gave the whole thing a spritz of colour with Dylusions inks and water and dried it with a heat gun.

 Cut a piece of Tim Holtz tissue paper to size and cover with a layer of Matte Multi medium (or similar)

 Lay the box onto the tissue.
 Fold the tissue up and over the sides, cutting and trimming where needed.
 Burnish with a scraper to flatten and leave to dry.

 Use Distress Paint to add further colour to the box and wipe it down.
 Use a brush to add colour to the inside sides.

 Use Black Archival ink and stamp the Fantasy 2 Border around the top and lid sides. then add the ATC to finish.

Job done. Hope you have yourselves a fun weekend too.

Wednesday 17 September 2014

Distress Marker Fun

Good morning folks.
I hope you are well. Well, after a brief lull in the busyness of life recently, I have actually managed to be a little creative over the last few days. I can feel my creative mojo is returning. As my visitors return today I will be off radar again for a while but hopefully I will have some time to pop in here and share some bits and pieces with you.
One of the things I have begun to "challenge" myself to do is begin to use things that have been hanging around the studio and been forgotten....it's surprising what you find when doing a tidy LOL.

One of the things I discovered was a pack of 20 3x3 card blanks and instead of packing them away again I decided to use them to make these....
20 delightful little cards, perfect for little thank yous. I even took photos along the way so if you want to make your own you can. Shall we begin?
I've used Distress Markers, watercolour card, my bird stamps from The Artistic Stamper, Archival ink and liquid pearls.

 Cut watercolour card into a size smaller than your chosen card blank and stamp assorted birds in black Archival ink.
 Take a selection of Distress Markers and begin to colour the image. The key when using the markers is to leave white areas. If you don't you have nowhere to "move" the colour to.
 Take a fillable waterbrush (If you don't have one then a brush and bowl of water is fine too. Begin to work over the colour, you will see it moves and blends beautifully. Work over the whole image including the white areas.
 When finished you have a beautifully blended watercolour finish.
 Add colour to the beak and legs (and other areas if desired)
 Use the waterbrush to blend these in too.
 Repeat for the other 19 images lol! Vary the colours as you go to end up with this little pile. Now they need backgrounds.....
 All the images have a similar colour palette, I've used browns, oranges and yellows primarily, though some of the browns have a green undertone. So, colour as you can see here. Again, remember to leave white areas and also, try to avoid straight lines.
 Blend with a waterbrush to create this lovely soft mottled finish. Repeat with the rest of them.
 Distress the edges with Gathered Twigs Distress Ink and mount them onto the card blanks with double sided tape.
 Add details with Liquid Pearls.
 To add interest, I stamped the backs of the envelopes with Archival ink and my small background border stamps.


Now I have 4 great little sets of cards, all packaged nicely in sets of 5 ready to give as a gift or to use. I must say that I love my Distress Markers, I think they are great to work with especially if, like me, you love the water colour painting effect they give.
Hope you enjoyed this and now I'd better get myself organised ....
Take care.

Monday 15 September 2014

#NotfortheFainthearted........

Hi there folks.

Right, viewers of a sensitive disposition; this is your warning....this post contains scenes of violence against stamps. If you are a member of the "Pristine Stamp Society" then you may find these images "distressing"

Okay, warnings dispensed with, shall we get on with the fun?
I'll be honest, I am not part of the #hashtag crowd, I don't do Twitter, Instagram etc which I think is where these are used.
So, when Tim's new stamps came out I looked at them in the shops and thought to myself; Yes, I like them but I'll not get the use out of them and left them there. But, I just couldn't get them out of my mind so I went back for another look a little while later. Still, no, I thought..... This process went on for a few months until I just HAD to get them last week. Why, because I had an IDEA. So, this is the tale of what happened when #hashtag met Neil.

 The first job was to separate them out. Do yourselves a favour, don't toss the waste away. (If you have already then I apologise in advance for the regret you may feel later.)
 Now we needed to some pre-surgery preparation. Take as many different colour Sharpie Markers as you have (I had 24) or other permanent marker and colour along the top edge of all the stamps like this. It is important that each stamp is coloured differently.

If you run out of markers before you run out of stamps then you need to think of a different way to differentiate. I used dots like this, again using a different colour for each stamp.

 Now we are ready for the next stage. Scalpel, ink, acrylic block, cutting mat and scrap paper at the ready.....
Stamp your stamp with black ink and stamp it onto the paper (The ink shows up the letters on the stamp clearly.) and
CAREFULLY and SLOWLY slice the words apart...... Repeat this for all the stamps and you end up with a lot of wonderful words

 Each word can be stamped together as per the original by just re assembling as per the colour coding or used separately.

 Then, look, doesn't the "waste" make a cool stamp too? I think it does. So, just to show you I made a quick little tag.
 I stamped the tag with layers of Archival ink in Black, Fern and Dandelion using the waste element. The black is kind of faded and I offset the other colours which I think gives a lovely faded screenprint feel.
Then, I selected my words from the set and stamped each one individually in the light areas. I am really pleased with the way it came out and just know I am going to use this set loads!

So, why did I do this? One of the things I love is Tim's Chit Chat Stickers, and this stamp set reminded me of this in some ways. However, because the words were all close together you could not easily stamp the words and cut them out with proper spacing. By cutting the stamps instead, I now have that option too as well as being able to stamp directly onto my project. A win win all round in my mind that really opens up the possibilities of this stamp set.
What do you think?


You really need to read the fine print Neil.........

Goodly morning peeps.
I trust that this finds you well and refreshed and ready for the new week. This is a slightly different post from me this morning. It's Q&A time. A little while ago I was contacted by Sandie Cottee whose blog, Itchifingers, can be found HERE, and asked to participate in this. Having looked in my diary and having a small window of opportunity (By which I mean that all my children have been returned safely to UNI and my sister is still gadding around the country with our cousin before returning here), I said yes and promptly "forgot"  about it until this morning...... this is where I must apologise to Sandie; you see, in all the reading, the messages going back and forth, my brain did not register the "pass it on to 3 others" ! Well, yep, you guessed it; I haven't asked anyone and it's a bit late now isn't it.
So, I'll answer the questions and though I can't promise, I'll try to line up at least one person to keep the hop going.......

1. What am I working on ?

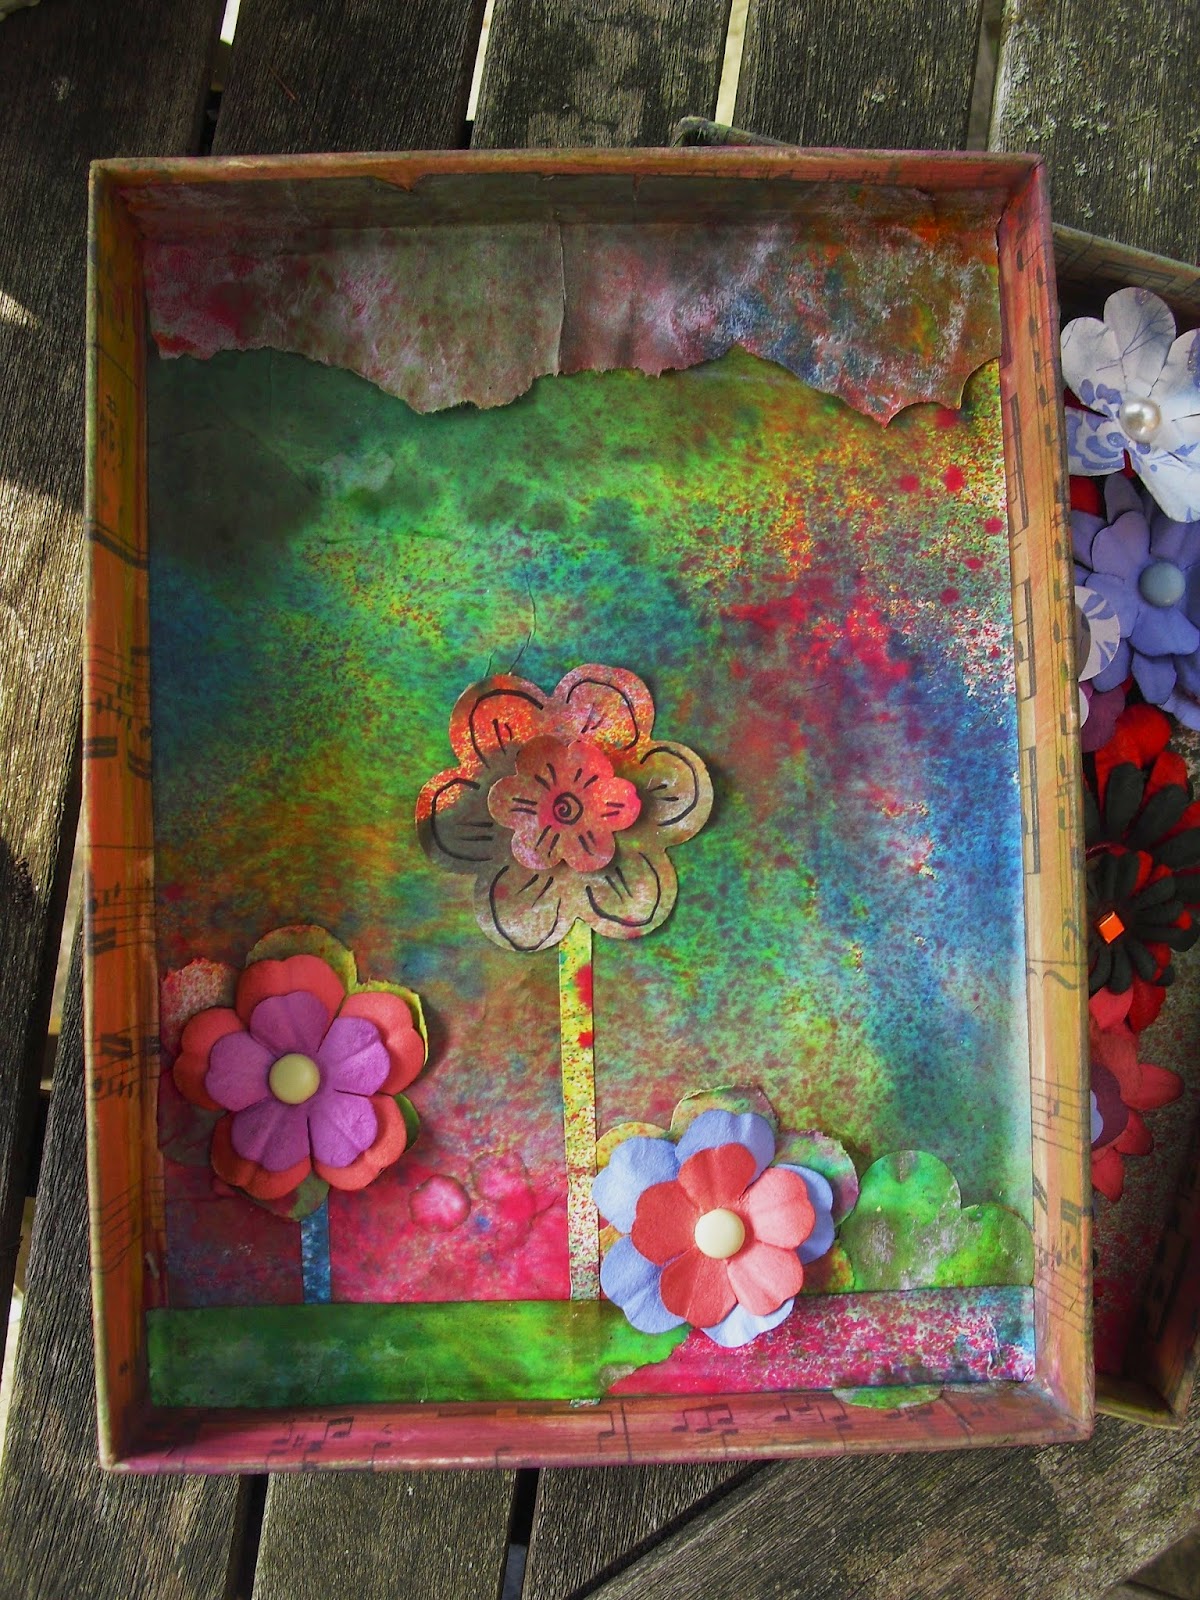
Currently I am working on a few different things; I generally have a few things on the go at a time as I seem to be incapable of just sticking with one thing. Today on my desk I have a box of flowers that I am making for my mother.
I've also been working in one of my smaller journals..... I love books and art journaling so most days can find me doing something with a book.


2. How does my work differ from others in my genre ?

That's kind of difficult to answer. I try not to compare my work with others too much. If I did I think I would freeze as I think there are awesome mixed media artists out there. We are surrounded by inspiration and I always try to create work that touches my heart and hope that someone somewhere will be inspired by it too. I would like to think that I create in a style that is unique to me while still drawing inspiration from work that I see that touches something in me.

3. Why do I create what I do ?

To put it simply, because I "need" to. For as long as I can remember I have felt the need to express myself in a visual way.  I believe that creativity is a gift from God and it is there to be shared. I have had a lifelong love affair with boxes and books; I love the feel of a book in my hands, the textures, the crackle of pages and even the smell of a book so in many ways I think it was inevitable that I would end up making books and filling them too. With boxes, I love the excitement and curiosity they give; a beautifully crafted box just calls out to be opened. Though I do a variety of projects I always seem to come back to these two things. They are my creative "Happy Place"

4. How does your creative process work ?

It's all over the place LOL...... I honestly don't have a routine process, it is as creative and fluid as my life (IE chaotic....)
Some days I will have everything mapped out in my head; it's almost like a personal step by step which I then just follow in reality. Those are the good days when everything flows.
Most of the time though I sit in my studio "shuffling" stuff waiting for something to happen. I have this "need" to create but no starting place. It can be intensely frustrating but I have a couple of things I use as kickstarters :
I make flowers, I find it restful to do, I will make a batch of flowers and usually by the end of that I have a head full of ideas as to how I can use them.
I will batch cut assorted dies. It bugs me sometimes to take the machine out just to cut one piece so I will stockpile them. I have a tendency to "forget" how many dies I have so by cutting them it reminds me and at the same time I find it inspires me too and I then have a pile ready to use, especially when I am looking to add textural elements to books and boxes...
I will pick up one of my journals, there are always unfinished pages in them so I will just pick one and start to doodle in it.
As I am fortunate enough to have my own range of book cover kits I take one of those and just begin to paint it white and hope that by the time I have finished that I will have the next stage in my mind....

Well, I hope you have found this little Q&A session remotely interesting.
Thank you Sandie for asking me, and once again, I'm sorry I didn't realise I needed to pass it on!
Take care folks.

Friday 12 September 2014

"Home is where the Art is" for The Craft Barn

Good morning folks.
Another project for you that was over on The Craft Barn Blog a while ago that I hadn't shared here. This was one project that I really enjoyed doing.
As always, if you follow the link HERE it will take you to the original post where you can see more details on how I made it as well as a downloadable/printable PDF.

This week I was working with paper mache letters to spell home but I wanted to make something that was not just a decorative piece.........

 I was so happy with the way this turned out. It is mounted onto driftwood and there are slots to hold pens and brushes.
 I used Lindsay Mason owl images and doodled the details and generally just had fun.
There is a bit of a tale with this paintbrush angel...... When I was re decorating the lounge this was the brush I used to paint a radiator cover. By the end of that the brush was pretty much useless for any other purpose as you can imagine. But rather than toss it I left it to dry without washing it. I added a face with clay, a bandanna and rusty washer. I then used the Tim Holtz Layered Tattered wings at the back to create my funky creative angel who guards my brushes......

Again, for more details and how I made it pics, do pop follow the link.......